I found this DIY project on, you guessed it, Pinterest! While the link to the page didn’t have a really good tutorial, I figured it out anyway. This project involves pilfering supplies from your local hardware store, which my husband shamed me for, but I liked the result and who knows; I might one day use those paint chips to decide on a paint colour so they have, indeed, served their purpose. *cough*
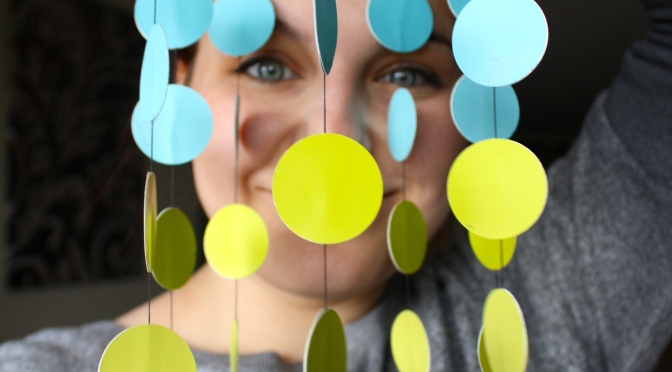
So here is my original Pinspiration;
Like I said, it links to an image fav site; which means there’s no further information whatsoever.
So here is what I did!
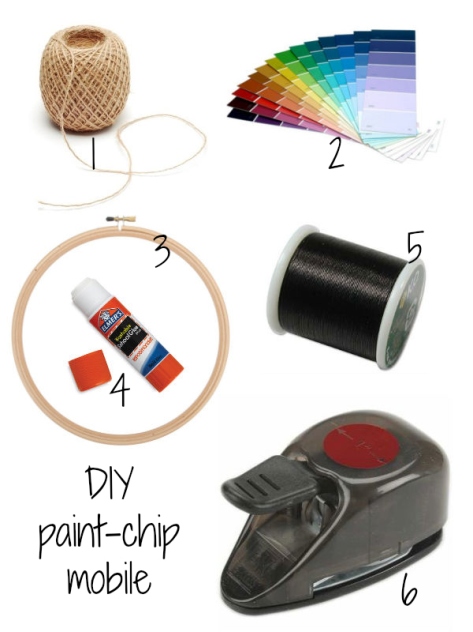
Supplies you will need;
1- this one is optional. String/twine/yarn or something to decorate the hoop.
2- Paint chips!
3- Cross stitch hoop – should mention that you’d only use the inner hoop, not the outer one with the big metal tightening screw on it!
4- Glue stick
5- Thread
6- Circle punch – I used the biggest one my mom had (had to borrow it) the circles are 1 1/4″ wide, the smallest circles at the bottom are 1″ wide.
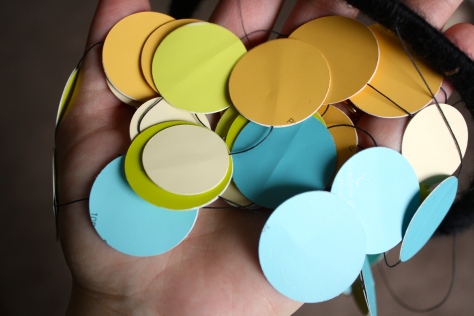
So what I did was punch out a zillion circles from the paint chips. I used six colours; blue, light blue, green, light green, yellow, and pale yellow. You can use whatever colours you want! I definitely took inspiration from the original pin even for the colours, but I used shades that I loved and would work for Atlas’ room. The bottom level, the palest yellow, I used a smaller punch than the rest- just because!

Next, I glued two circles back-to-back (the back of the paint chips is not the same colour as the front- so you’ve got to punch out twice as many circles as you want!) while gluing these together, I put a piece of thread between them; so each glued pair of circles has the thread going between them right up the center. (you’ll also notice that you can see some text from the paint chip’s information that was written on it- if you can find ones without that, even better!)

Continue this up the string- I put one circle for each colour I did. I used the first string I did as reference for the space between circles as I did the rest of them.

Once I had enough strings of circles done, I tied them evenly around the hoop.
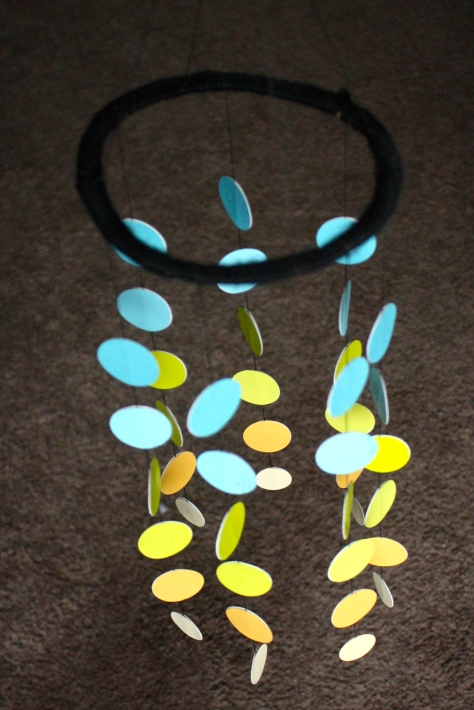
Brady says I didn’t do enough, and that there should be more strings and possibly even a second layer (a smaller hoop maybe suspended inside the bigger one) but I liked the simple look of this one. So you can go wild and do a ton or stick to the simple look like I did.
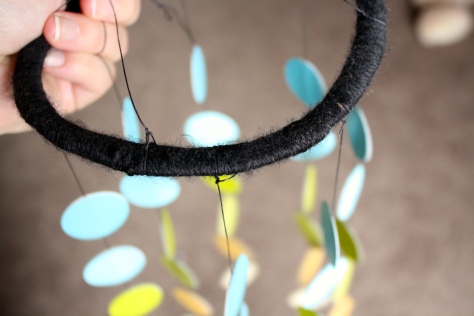
Now, this part is optional but because I didn’t have a pretty, wooden hoop, I decided to use black yarn to wrap around the ugly plastic hoop I had cut out of an ice cream pail (yeah- that’s some serious DIY commitment right there!) You can also see where I tied the thread around the hoop- not super pretty; I’m sure you could figure out a way to weave the end of the thread in, or make a pretty bow if you’re using something nicer.

This is one of those projects that you could really change up in a multitude of ways; which makes me LOVE it. I am so excited to make one of these for baby #2 (in the distant future) because I’ve had so many good ideas on how to improve on this one since I made it.
You could use cardstock (which doesn’t have lettering on it!) and even punch tiny holes in the circles and use some sort of links to attach them to one another. You’d have to cut out half as many circles that way (one of the most annoying parts)
Or you could do this to get a custom colour (I think doing this with an ombre pattern – dark to light – would look REALLY neat.)
You could use any shape you wanted! Here are cutouts of hearts and butterflies!

Hope you enjoyed!!